DIY Towel Rack: You too can make your own
 Please note, the products listed below contain an affiliate link. While these links are at no additional cost to you, I will earn a very small commission if you click through and make a purchase.
DIY Towel Rack
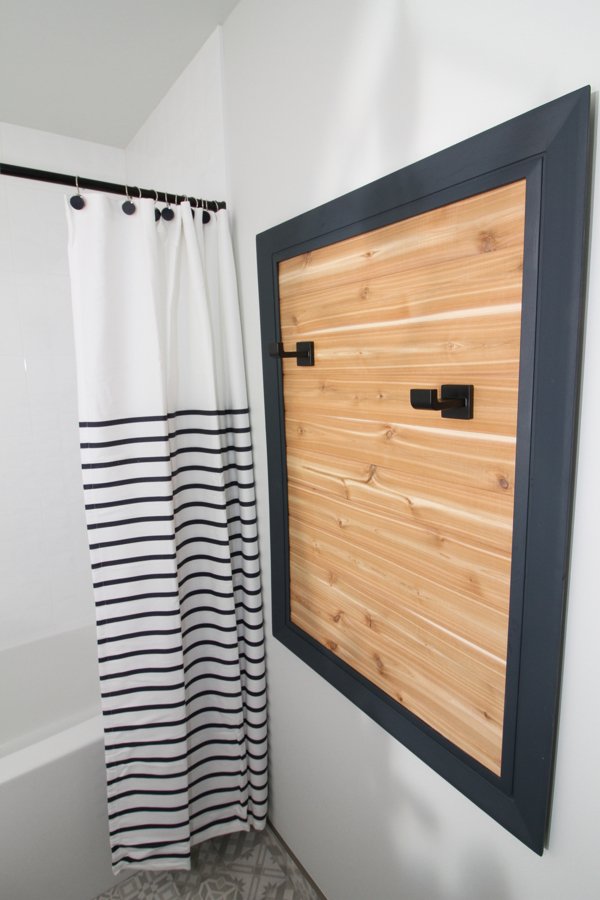
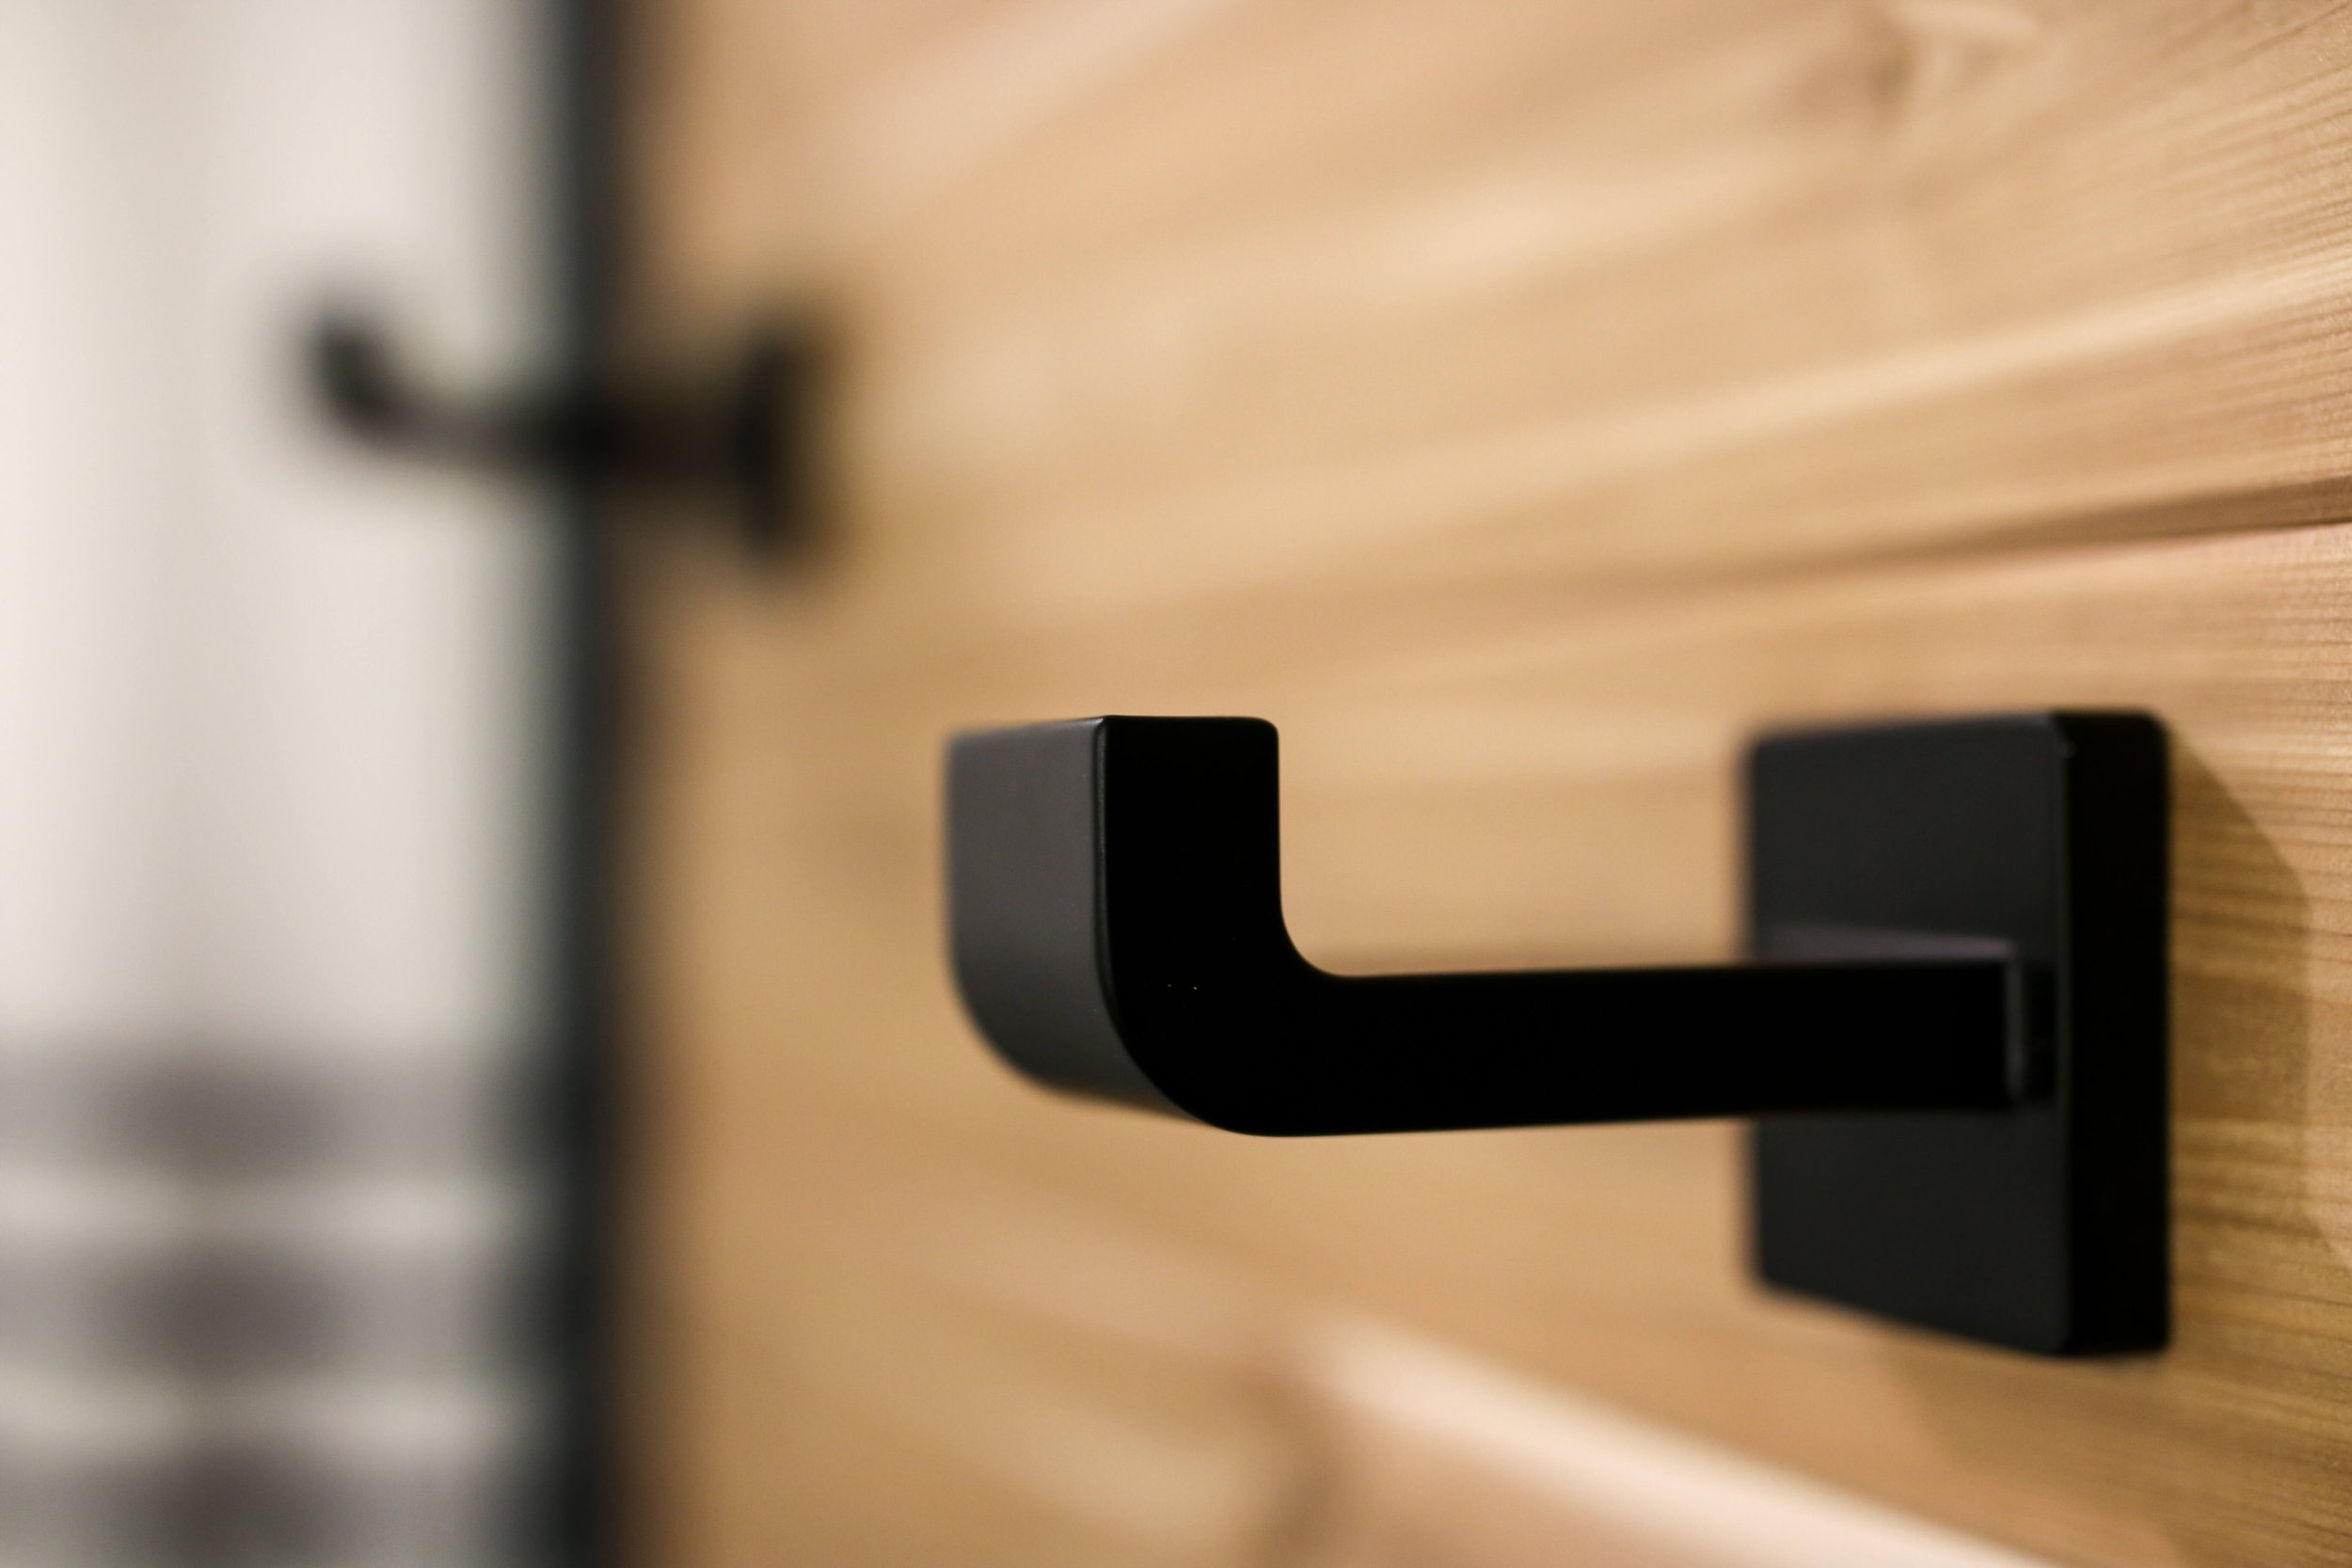
For this project, I had picked out all matte black plumbing fixtures, therefore, I also chose black matte robe hooks. Here are the steps I took (along with the Mr. who helped out - ok - did most of the work) to make this DIY Towel Rack.
Materials
- 1 Picture Frame (sizing will depend on your space). My frame is 30" X 42".
- CedarSafe 3-3/4-ft Aromatic Cedar V-Groove Wainscot
- Painters Pyramid Stands
- Gorilla Glue
- Spray Paint
- Rob Hooks
- 1 French Cleat
- Drywall Anchors and Screws
Tools
1. Spray the Frame
I wanted the frame of this DIY Towel Rack to be the same color as the vanity was going to be - Benjamin Moore Blue Note. As such, I headed down to my Benjamin Moore store and requested the paint in Aura Bath and Spa (due to this being in a bathroom). My wish was for the paint to be in a matte finish. A shiny frame was not the look I was going for, for this project. I asked for the paint to be put in a spray can. If you were not aware that you could do this - YOU CAN! It cost me an extra $14 to get some of the paint into the aerosol can. Totally worth it! In order to keep the frame from sitting directly on the ground, I used my Painters' Pyramid Stand to keep the frame from sitting directly on the ground.
2. Measure twice, cut once
The cedar we chose resists mildew which was important for me in this bathroom. Do you know how long and steamy a young, adult male can take? I also chose cedar as I love the smell of it. It is my hope that with a hot steamy bath or shower, the subtle smell of cedar will be released. I guess I'll take the long hot shower if I can smell the cedar! The Mr. used his Table Saw to cut the pieces that fit exactly into the frame. For our frame, each piece was 32" long.
3. Dry Fit First
As the pieces were tongue and groove, we started at the top and loose-laid the pieces and fit them into each other.We wanted to dry fit the pieces to ensure that they fit prior to gluing them in place. The last piece at the bottom needed to be cut to fit the frame.
4. Securing The Boards In Place
As the cedar is tongue and groove, we were worried that the pieces could easily pop out. When in doubt, grab the good ol' Gorilla Glue! We used the glue in two places:
- A little bit of glue was used in the groove part of each cedar plank.
- A liberal amount of glue was placed on the back of each board prior to placing on the full piece that fits on the back of the frame.

5. Installing
I love using French Cleats to hang things like mirrors and larger picture frames. I find they are easy to use, easy to get a quick level and something that even I can do on my own! We attached one side of the French Cleat to the back of the frame, and then attached the other side of the French Cleat to the wall. You may notice that we made a tiny mistake. I actually hung the wall cleat upside down. I am thankful the towel rack covers my mistake as it was my fault. #nojudging
6. Attaching the Robe Hooks
We wanted to attach the robe hooks right through to the wall. We were worried that our son would grab a towel and rip the entire thing right off the wall! If you know my Mr., you will know that he LOVES drywall anchors and uses them all the time. I marked out with a pencil where I wanted each robe hook to go. The Mr. drilled a hole in each marking and ensured that he went into the drywall. Having the drill bit go directly into the drywall ensured that could see the hole for the drywall anchor.
 We installed the robe hook hardware and used longer screws that went through the towel rack and into the drywall anchors. We tightened each screw with a screwdriver. This sucker is not coming off our wall any time soon!
Costs
The total cost of this DIY Towel Rack came in just under $200.00.
DIY Towel Rack
I was thrilled with the way the DIY towel rack turned out. I would love to know if you end up making your own and how it turns out. If you do make your own version, I'd love to see it and hear how it went.


